
There were many bombers lost from the 303rd Bomb Group (Heavy) stationed at RAF Molesworth in Cambridgeshire during the Second World War. Today, I’d like to focus on a particular Flying Fortress, a B-17G, tail number 42-39758 built by Lockheed/Vega on license from Boeing and delivered to the U.S. Army Air Forces in 1943. Named Thru Helen Hiwater, she was lost on 22 April 1944 when the aircraft was hit by flak over Germany. Four of the crew were killed and six captured when she crashed. She was flying a mission to bomb the railyards at Hamm, in the Ruhr Valley, Germany.

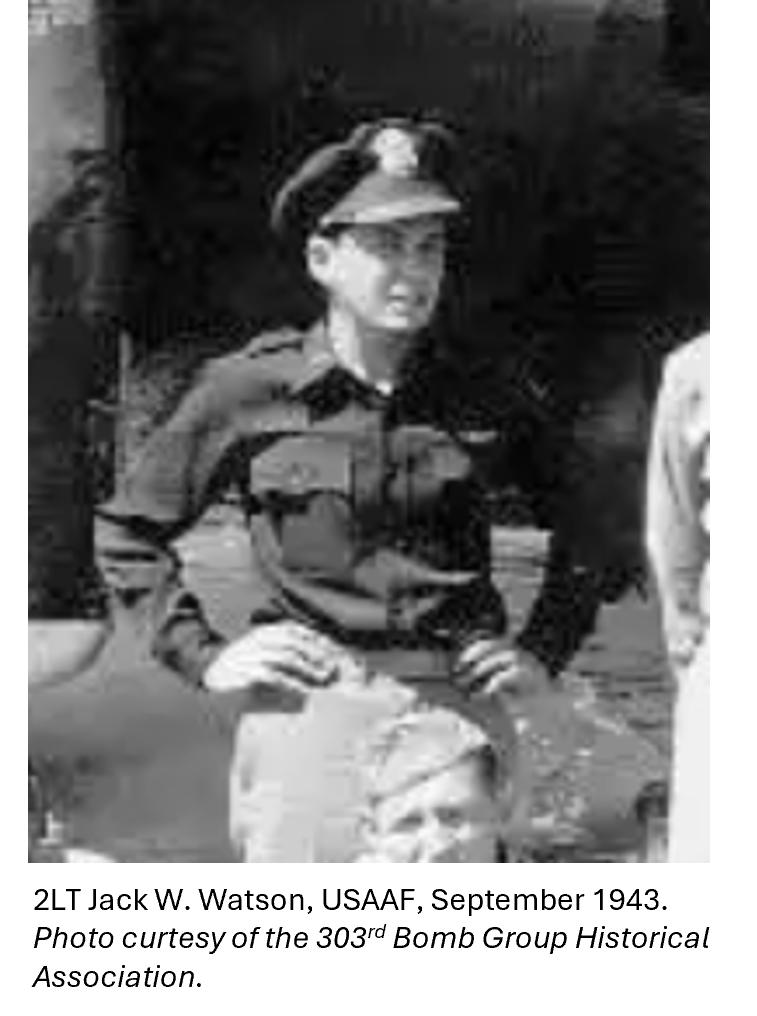
Before arriving in England, Thru Helen Hiwater became famous, or maybe infamous, for buzzing Yankee Stadium in New York during the opening game of the 1943 Baseball World Series. That evening in October, the New York Yankees were playing the St. Louis Cardinals at the end of the season as four B-17s were flying over New York enroute from a training exercise in Florida to Maine. The bombers would land in Maine to refuel before crossing the Atlantic to England. The first game of the World Series was in the 8th inning with the Yankees leading the Cardinals 4 to 2 as the lead plane Thru Helen Hiwater, flown by 2LT Jack W. Watson, approached. Watson radioed the other aircraft, “Let’s go down and take a look” as the four bombers flew over up the Hudson River, navigating past Manhattan.
With Lieutenant Watson leading the way, the four bombers buzzed the field and stopped the game play while the excited crowd leapt to their feet thinking it was a scheduled demonstration. The other three bombers climbed back to altitude, but Lieutenant Watson in Thru Helen Hiwater came back for a second pass, just clearing the upper deck’s pennants by 25 feet, a moment immortalized in a photograph. While the crowd loved it, city officials, including Mayor Fiorello La Guardia were furious and let the Army Air Corps know. By the time the four aircraft landed in Maine, the pilots were confined to their quarters pending a court marital. Despite the anger, the bombers and crews were desperately needed in England, so each pilot was fined $75 and given a letter of reprimand and sent on their way. The Thru Helen Hiwater with Jack Watson at the controls, was assigned to the 303rd Bomb Group’s 358th Bomb Squadron at RAF Molesworth. He was one of the fortunate pilots to complete 35 missions in June 1944 and returned to the U.S and finished the war as a Captain. Of note, after Watson’s mission on 11 January 1944, when he landed a heavily damaged B-17 after his crew had all bailed out, Mayor La Guardia sent a telegram from New York. He had read an interview with Watson in the newspapers concerning the flyover of the World Series, and during the interview Watson lamented from England, “I wonder if Mayor La Guardia will ever forgive me…” La Guardia’s telegram let Watson know all was well: “Delighted to get your message. All is forgiven. Congratulations. I hope you never run out of altitude. Happy landings. Will be seeing you soon.”

Through the end of 1943 and into Spring of 1944, Thru Helen Hiwater flew multiple missions over France, the low countries, and Germany, delivering her bombs and returning safely to RAF Molesworth after each mission.
On 22 April 1944, Thru Helen Hiwater with 2LT Roy Larson at the controls, took off on the 303rd Bomb Group’s 139th combat mission to Hamm, Germany, joining two flights of heavy bombers escorted by P-51 Mustangs and P-47 Thunderbolts of the 9th Air Force. Roy Larson was born in Minnesota but grew up in Hesengshals, Pennsylvania. He was 26 years old in April 1944.
Hamm is a city in the northeast of the industrial Ruhr valley, which was a key rail logistics point during the war. It was bombed 55 times during the war, leaving over half of the city destroyed and the railways devastated. On the evening of 22 April, once again, 8th Air Force heavies were targeting the marshalling yards and rail infrastructure at Hamm, trying to slow the German war machine. This was a very risky mission as the 303rd was flying its first afternoon mission – leaving England in the afternoon and returning after dark to buy some protection for the bombers.
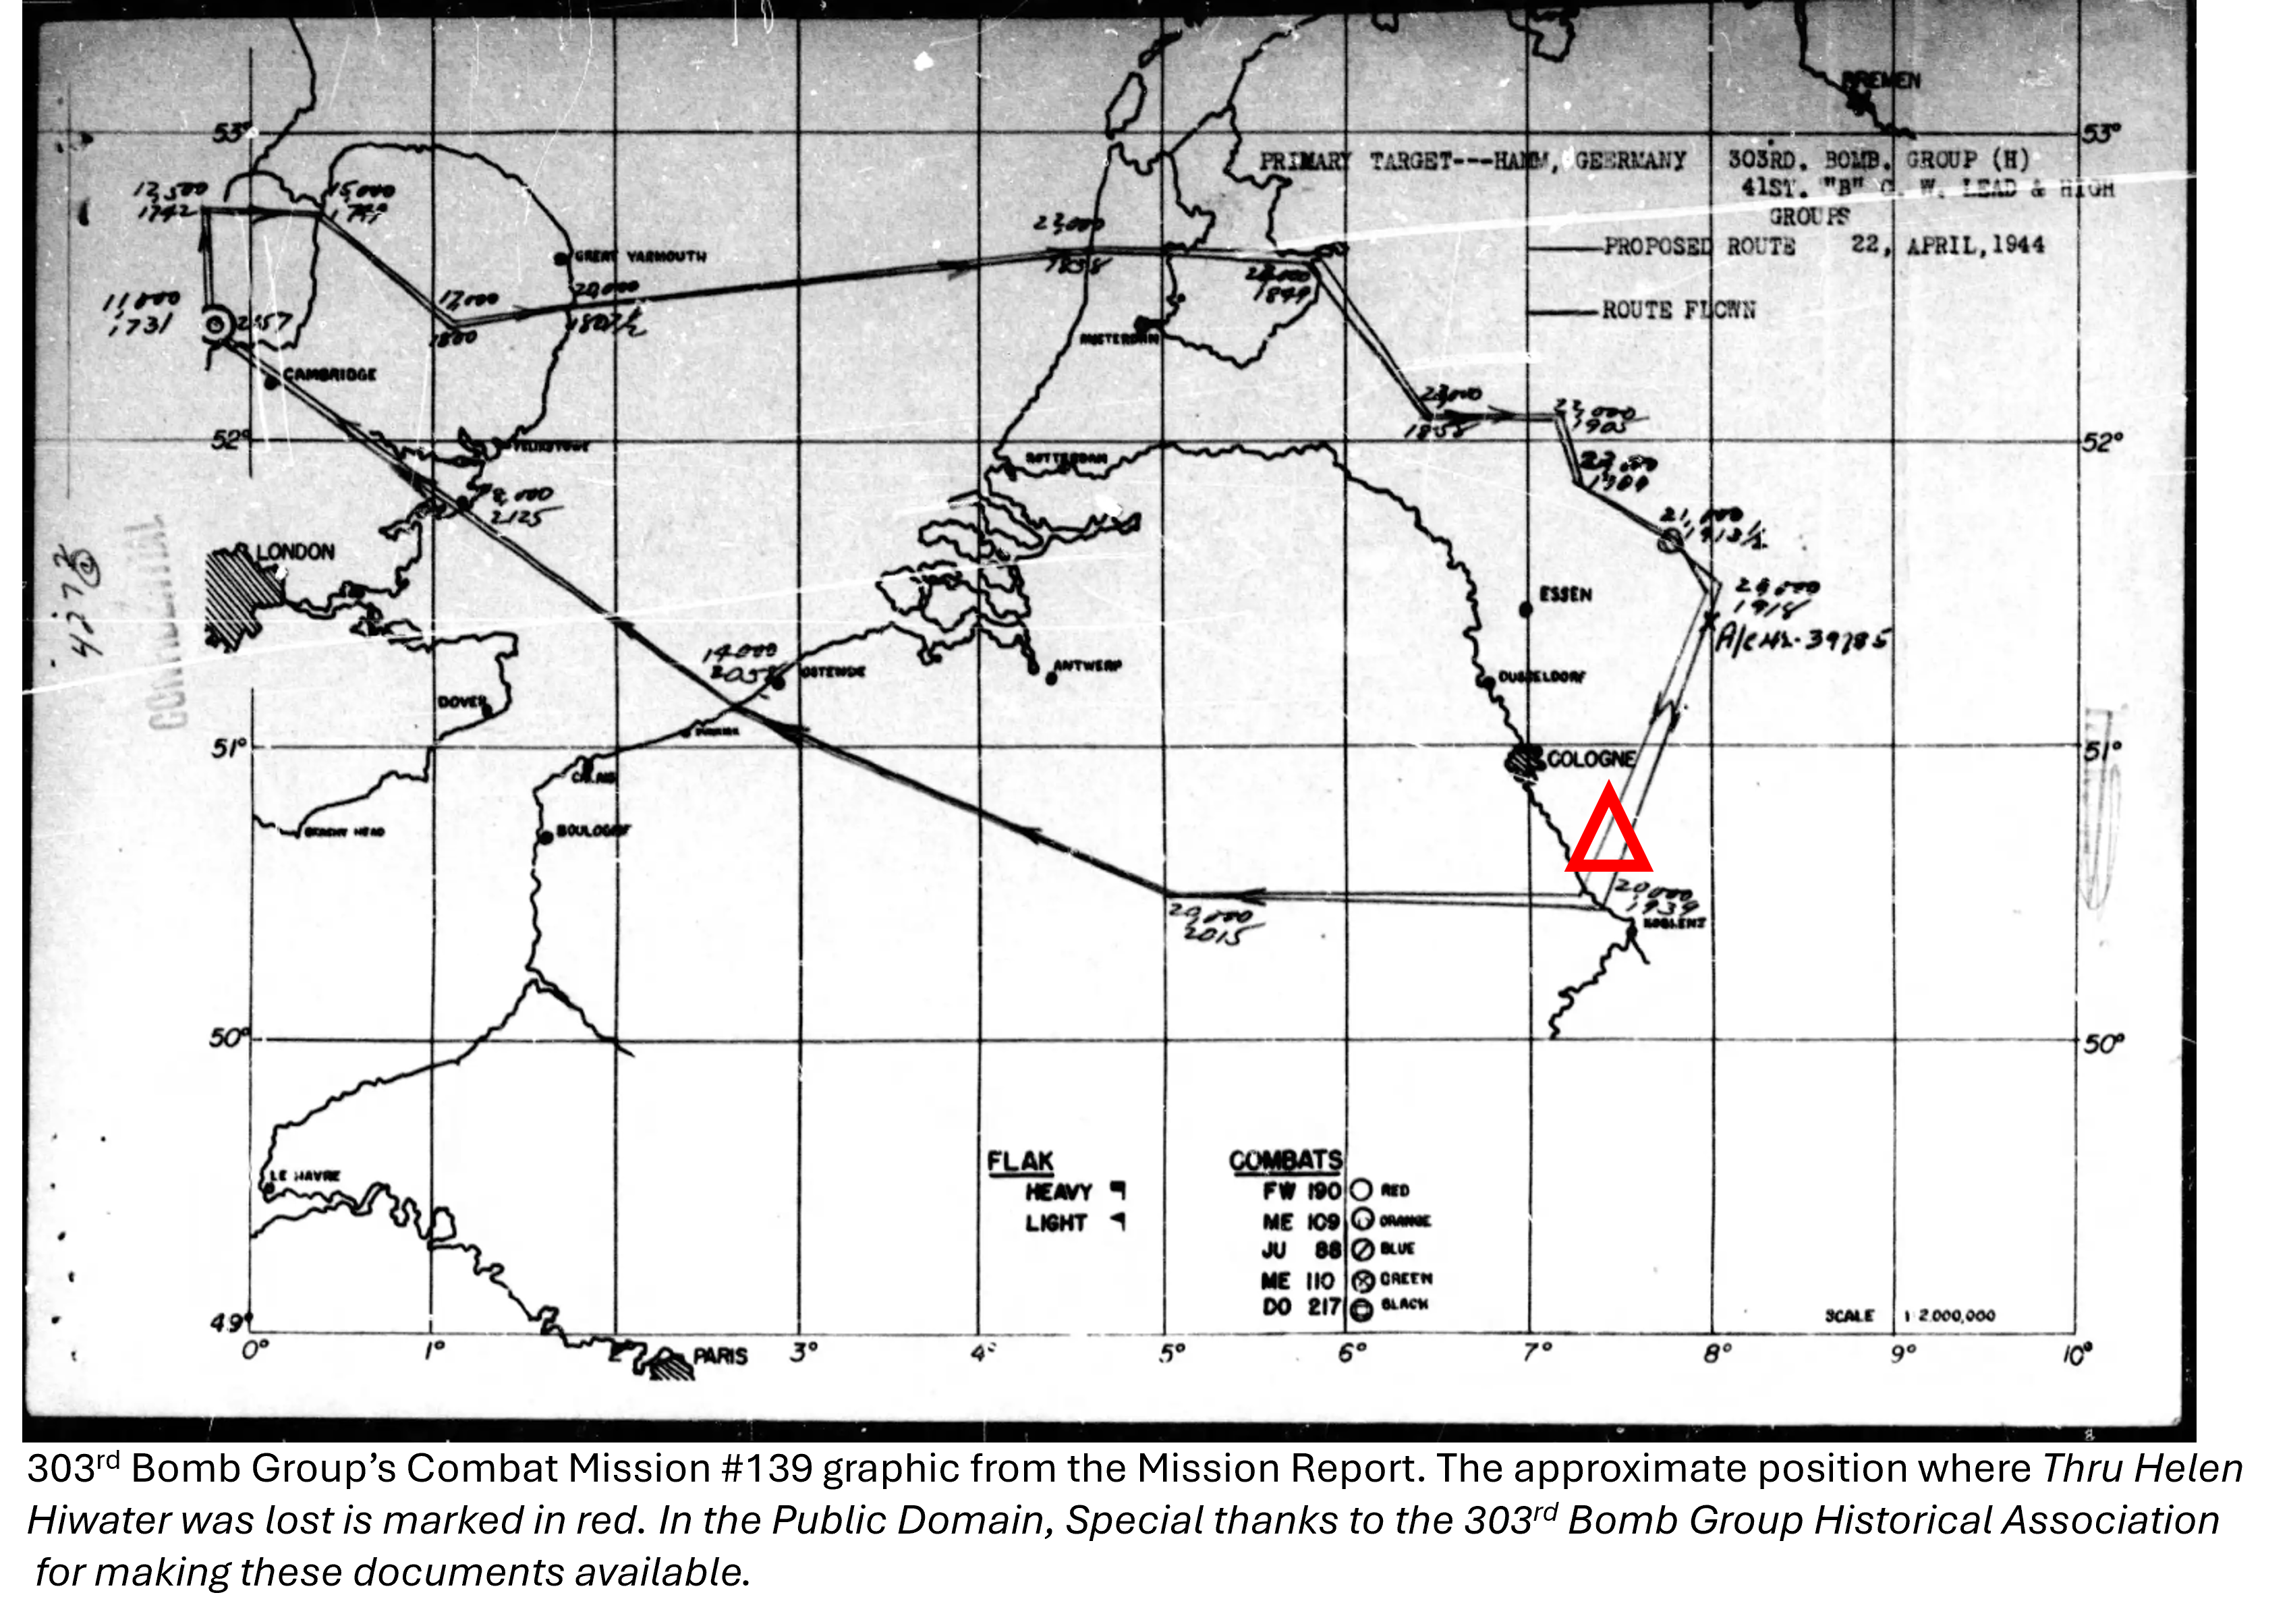
Thru Helen Hiwater was in the number five position of the lead group, passing over Werl Germany at 1915 hours flying at 23,500 feet. The formation was receiving ground anti-aircraft fire when Thru Helen Hiwater took an unlucky hit from a German anti-aircraft round. She was five minutes from the target, beginning the bomb run. The flak struck the #1 engine on the left wing, the outmost of the two, and engine and fuel tanks erupted in flames. Immediately a massive fire raced across the wing. Lieutenant Larson sounded the alarm bell throughout the aircraft and told the crew over the internal radio, his last words to his men, “Pilot to crew, bail out!”. According to debriefs after the war, Larson stayed at the controls of Thru Helen Hiwater as long as possible, letting the men get.
The B-17 began to spiral out of control. The waist gunners, Sergeants Schinker and Thayer helped Sergeant Brim out of the Ball turret and the three NCOs jumped. As the spinning increased, Staff Sergeant Everett Culp, the radioman, was thrown through the length of the aircraft and was pinned by the rear tail wheel, trapped in torn controlling cables as the aircraft’s spin increased. Then, Thru Helen Hiwater broke in two – the tail section torn from the forward part of the aircraft due to the enormous forces of the spin. Sergeant Culp was able to bail out of the falling tail section, joined by Sergeant Herman Hodge, the tail gunner. Both men landed on the edge of a rocky gulch, but Sergeant Hodge fractured his skull as he was dragged over the rocks by his partially inflated parachute. Captured by the Germans, Sergeant Hodge died the next day of his injuries.
In the front half of the plane, the copilot Lieutenant Duncan later recalled Lieutenant Larson telling him to get out quick as he and Lieutenant Levy rushed to bail out. They were able to get out of the B-17 before the plane broke in two, and both saw the front half of Thru Helen Hiwater explode after the two men jumped. Lieutenant Larson, still at the controls, along with 2LT Milton Feinman, the bombardier and Staff Sergeant Thomas Campbell, the flight engineer died when the front portion of Thru Helen Hiwater exploded.
The captured enlisted men spent the rest of the war in the Luftwaffe’s Stalag XVII-B in Austria. The officers went to Stalag VII-A in Bavaria, the largest POW camp of the war. It was only after the war, when the men could all compare their notes that the story of the last moments of Thru Helen Hiwater were pieced together.
On her last mission, the crew of Thru Helen Hiwater were:
2LT Roy A. Larson, pilot, killed in action, it was his 15th mission, he had flow 14 missions with his copilot 2LT Ronald Duncan. He was posthumously awarded the Purple Heart.
2LT Ronald H. Duncan, copilot, bailed out and became a POW, survived the war.
2LT Milton Feinman, bombardier, killed in action as Thru Helen Hiwater exploded 22 April 1944. He was posthumously awarded the Purple Heart.
2LT Herbert E. Levy, Jr., navigator, bailed out and became a POW, survived the war.
S/Sgt Thomas J. Campbell, engineer, killed in action as Thru Helen Hiwater exploded 22 April 1944. He was posthumously awarded the Purple Heart.
S/Sgt Everett E. Culp, radioman, bailed out became a POW, survived the war.
Sgt Arthur W. Schinker, left-wing gunner, bailed out became a POW, flew all 15 missions with 2LT Larson, survived the war.
Sgt Lee Ray Brim, ball turret gunner, bailed out and became a POW on 22 April 1944, survived the war.
Sgt Duane P. Thayer, right wing gunner, bailed out and became a POW on 22 April 1944, survived the war.
Sgt Herman L. Hodge, tail gunner, bailed out and was captured. He died of his wounds on 23 April 1944 and is buried in the Netherlands American Cemetery in Margraten, the Netherlands. He was posthumously awarded the Purple Heart.
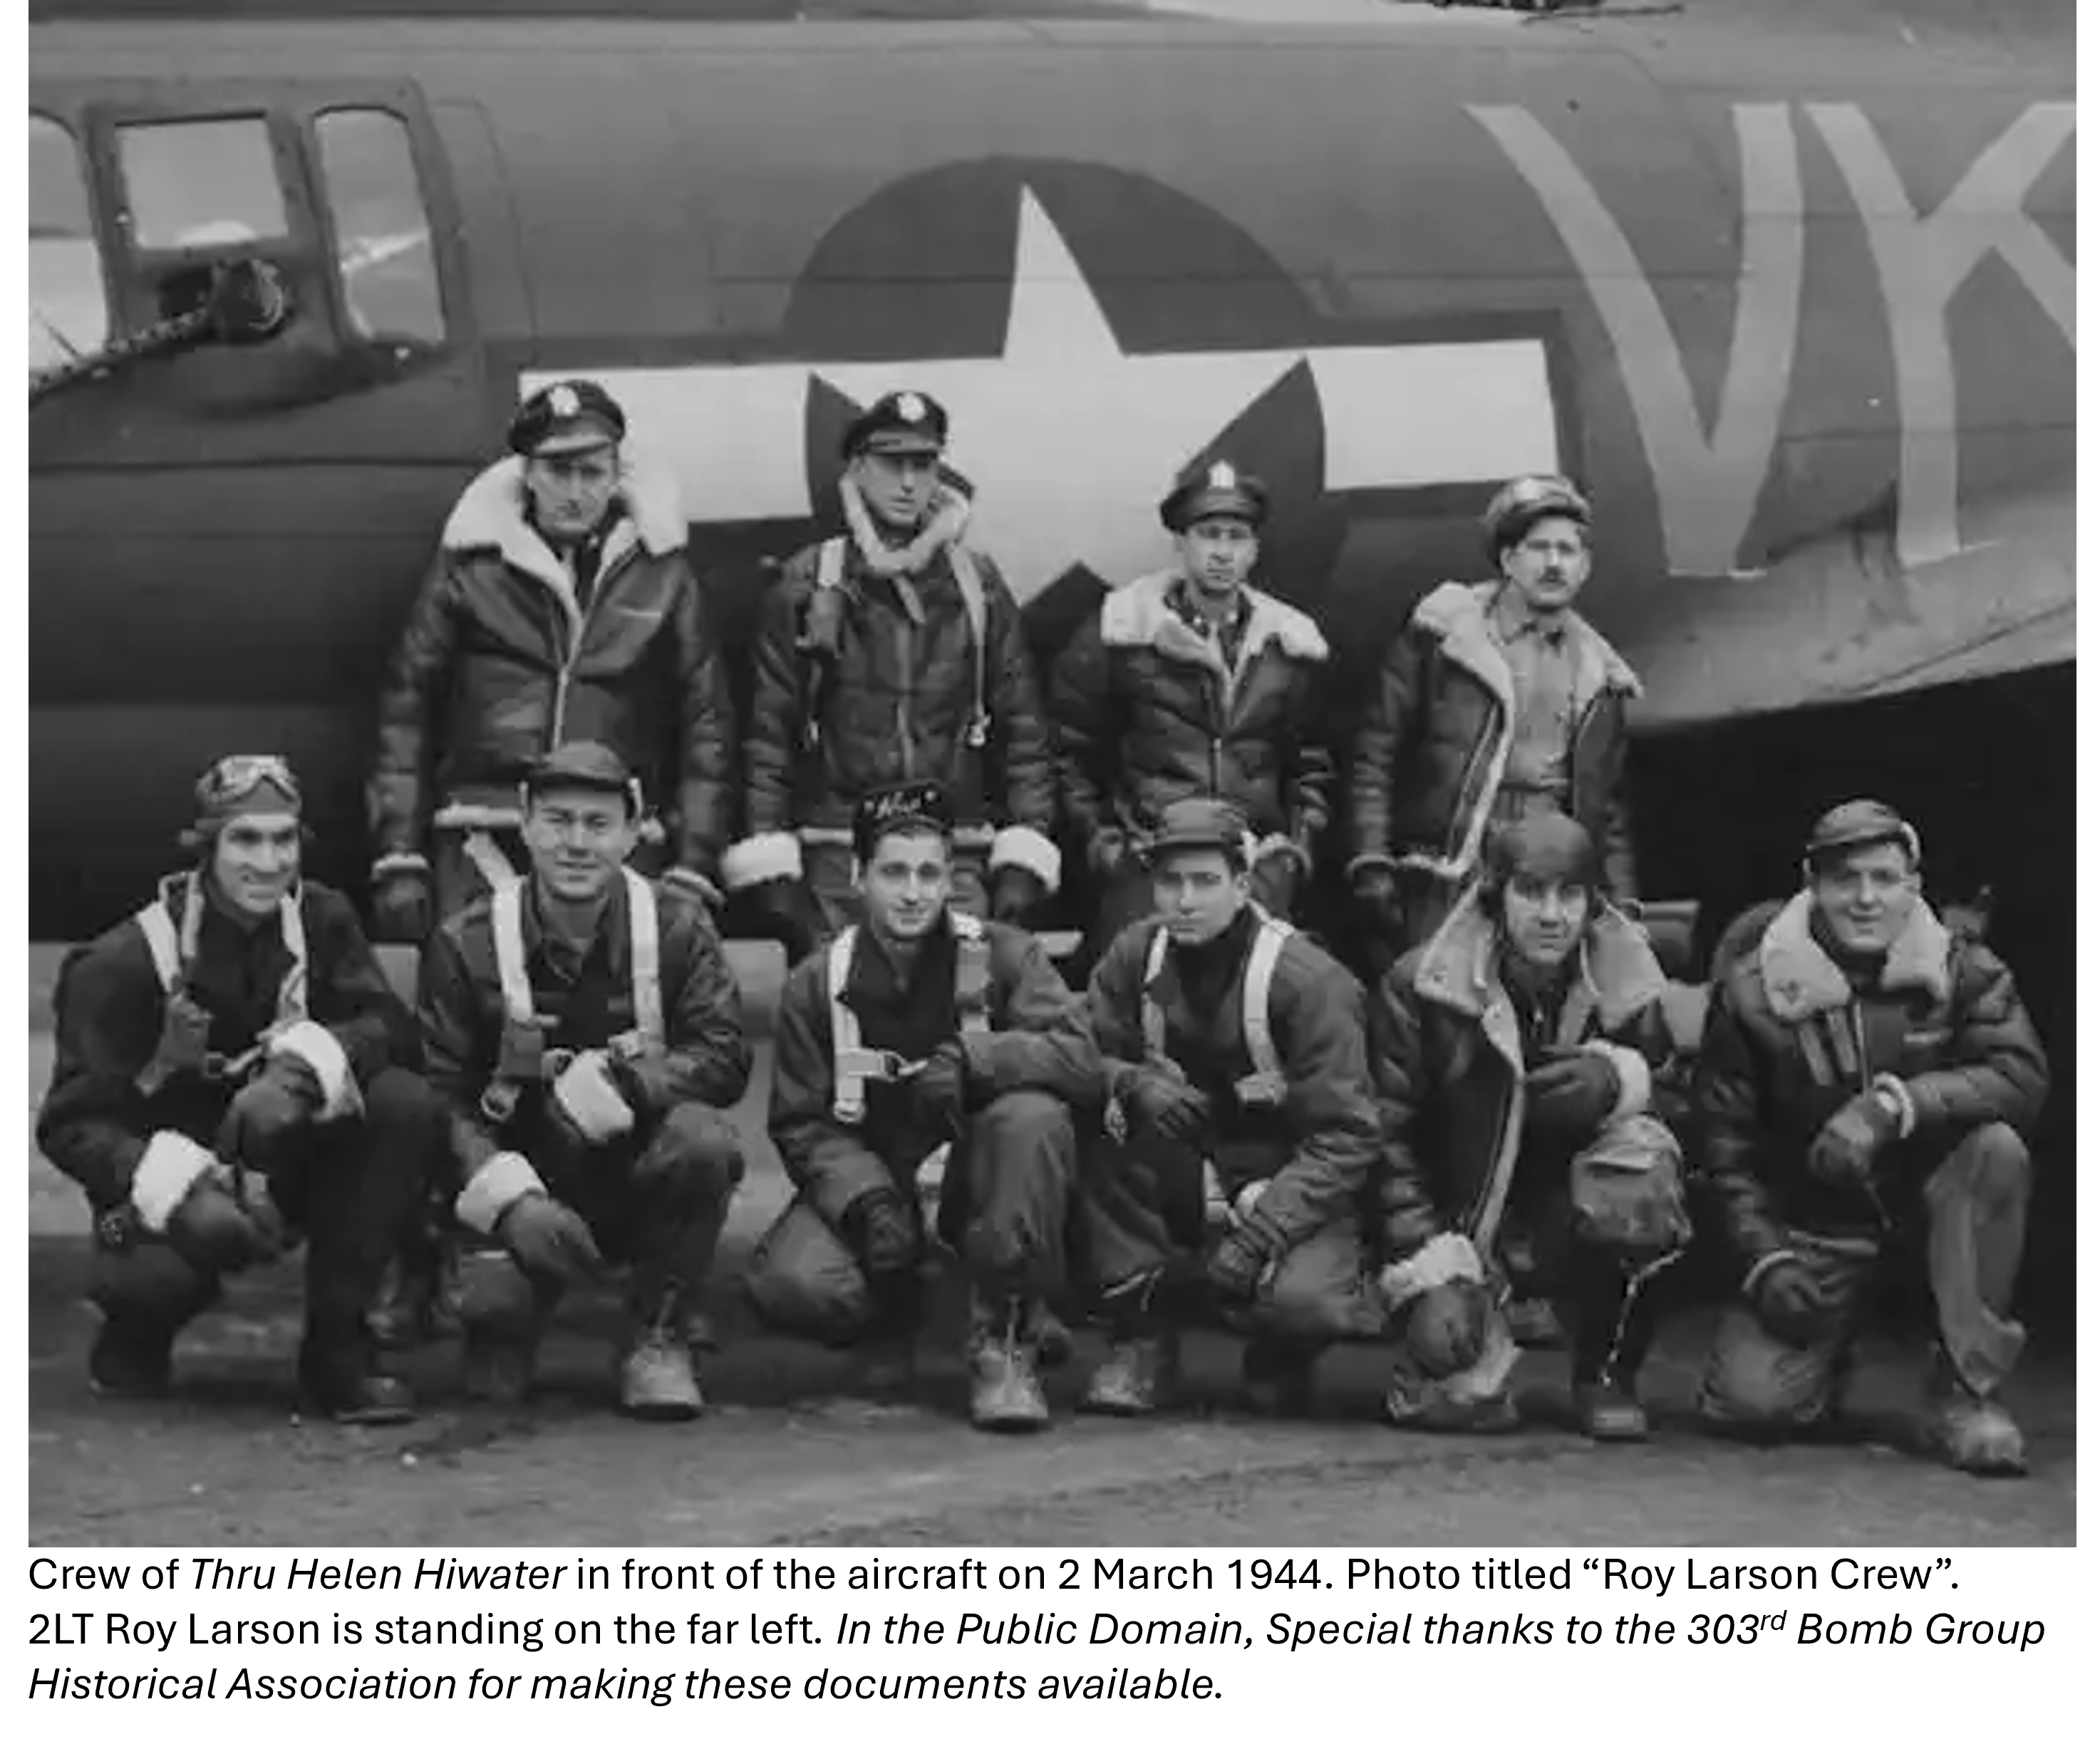
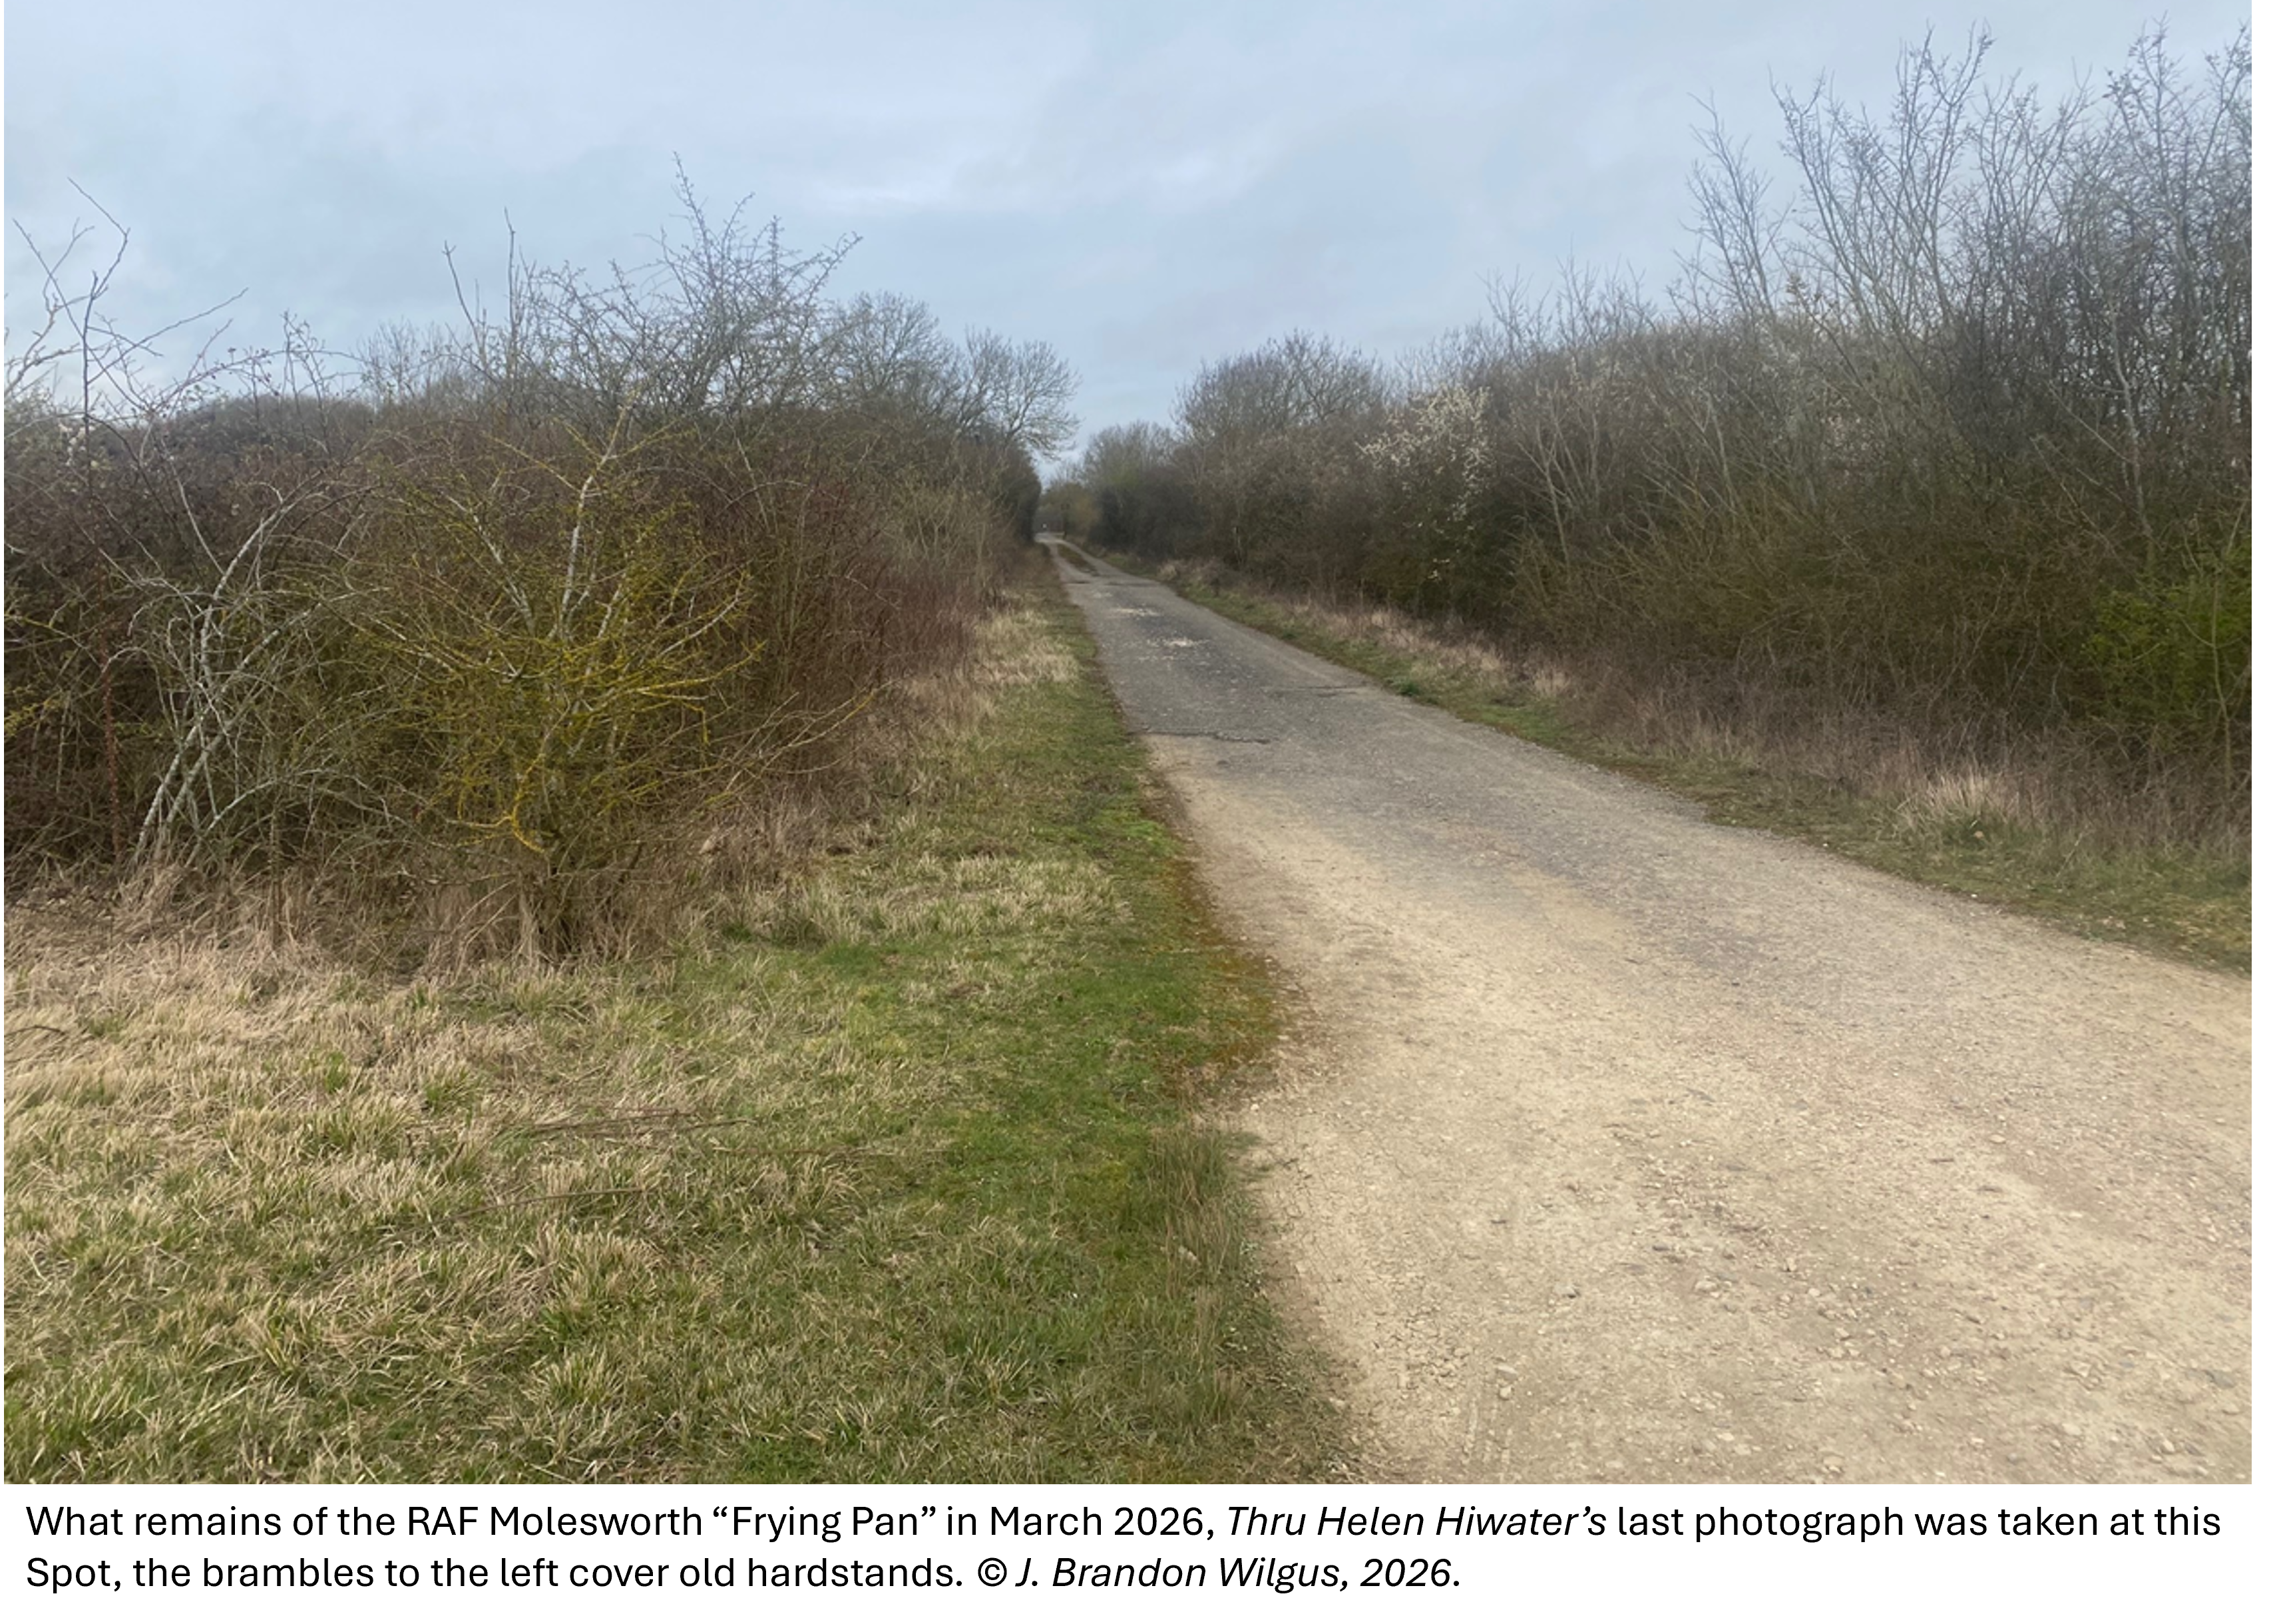
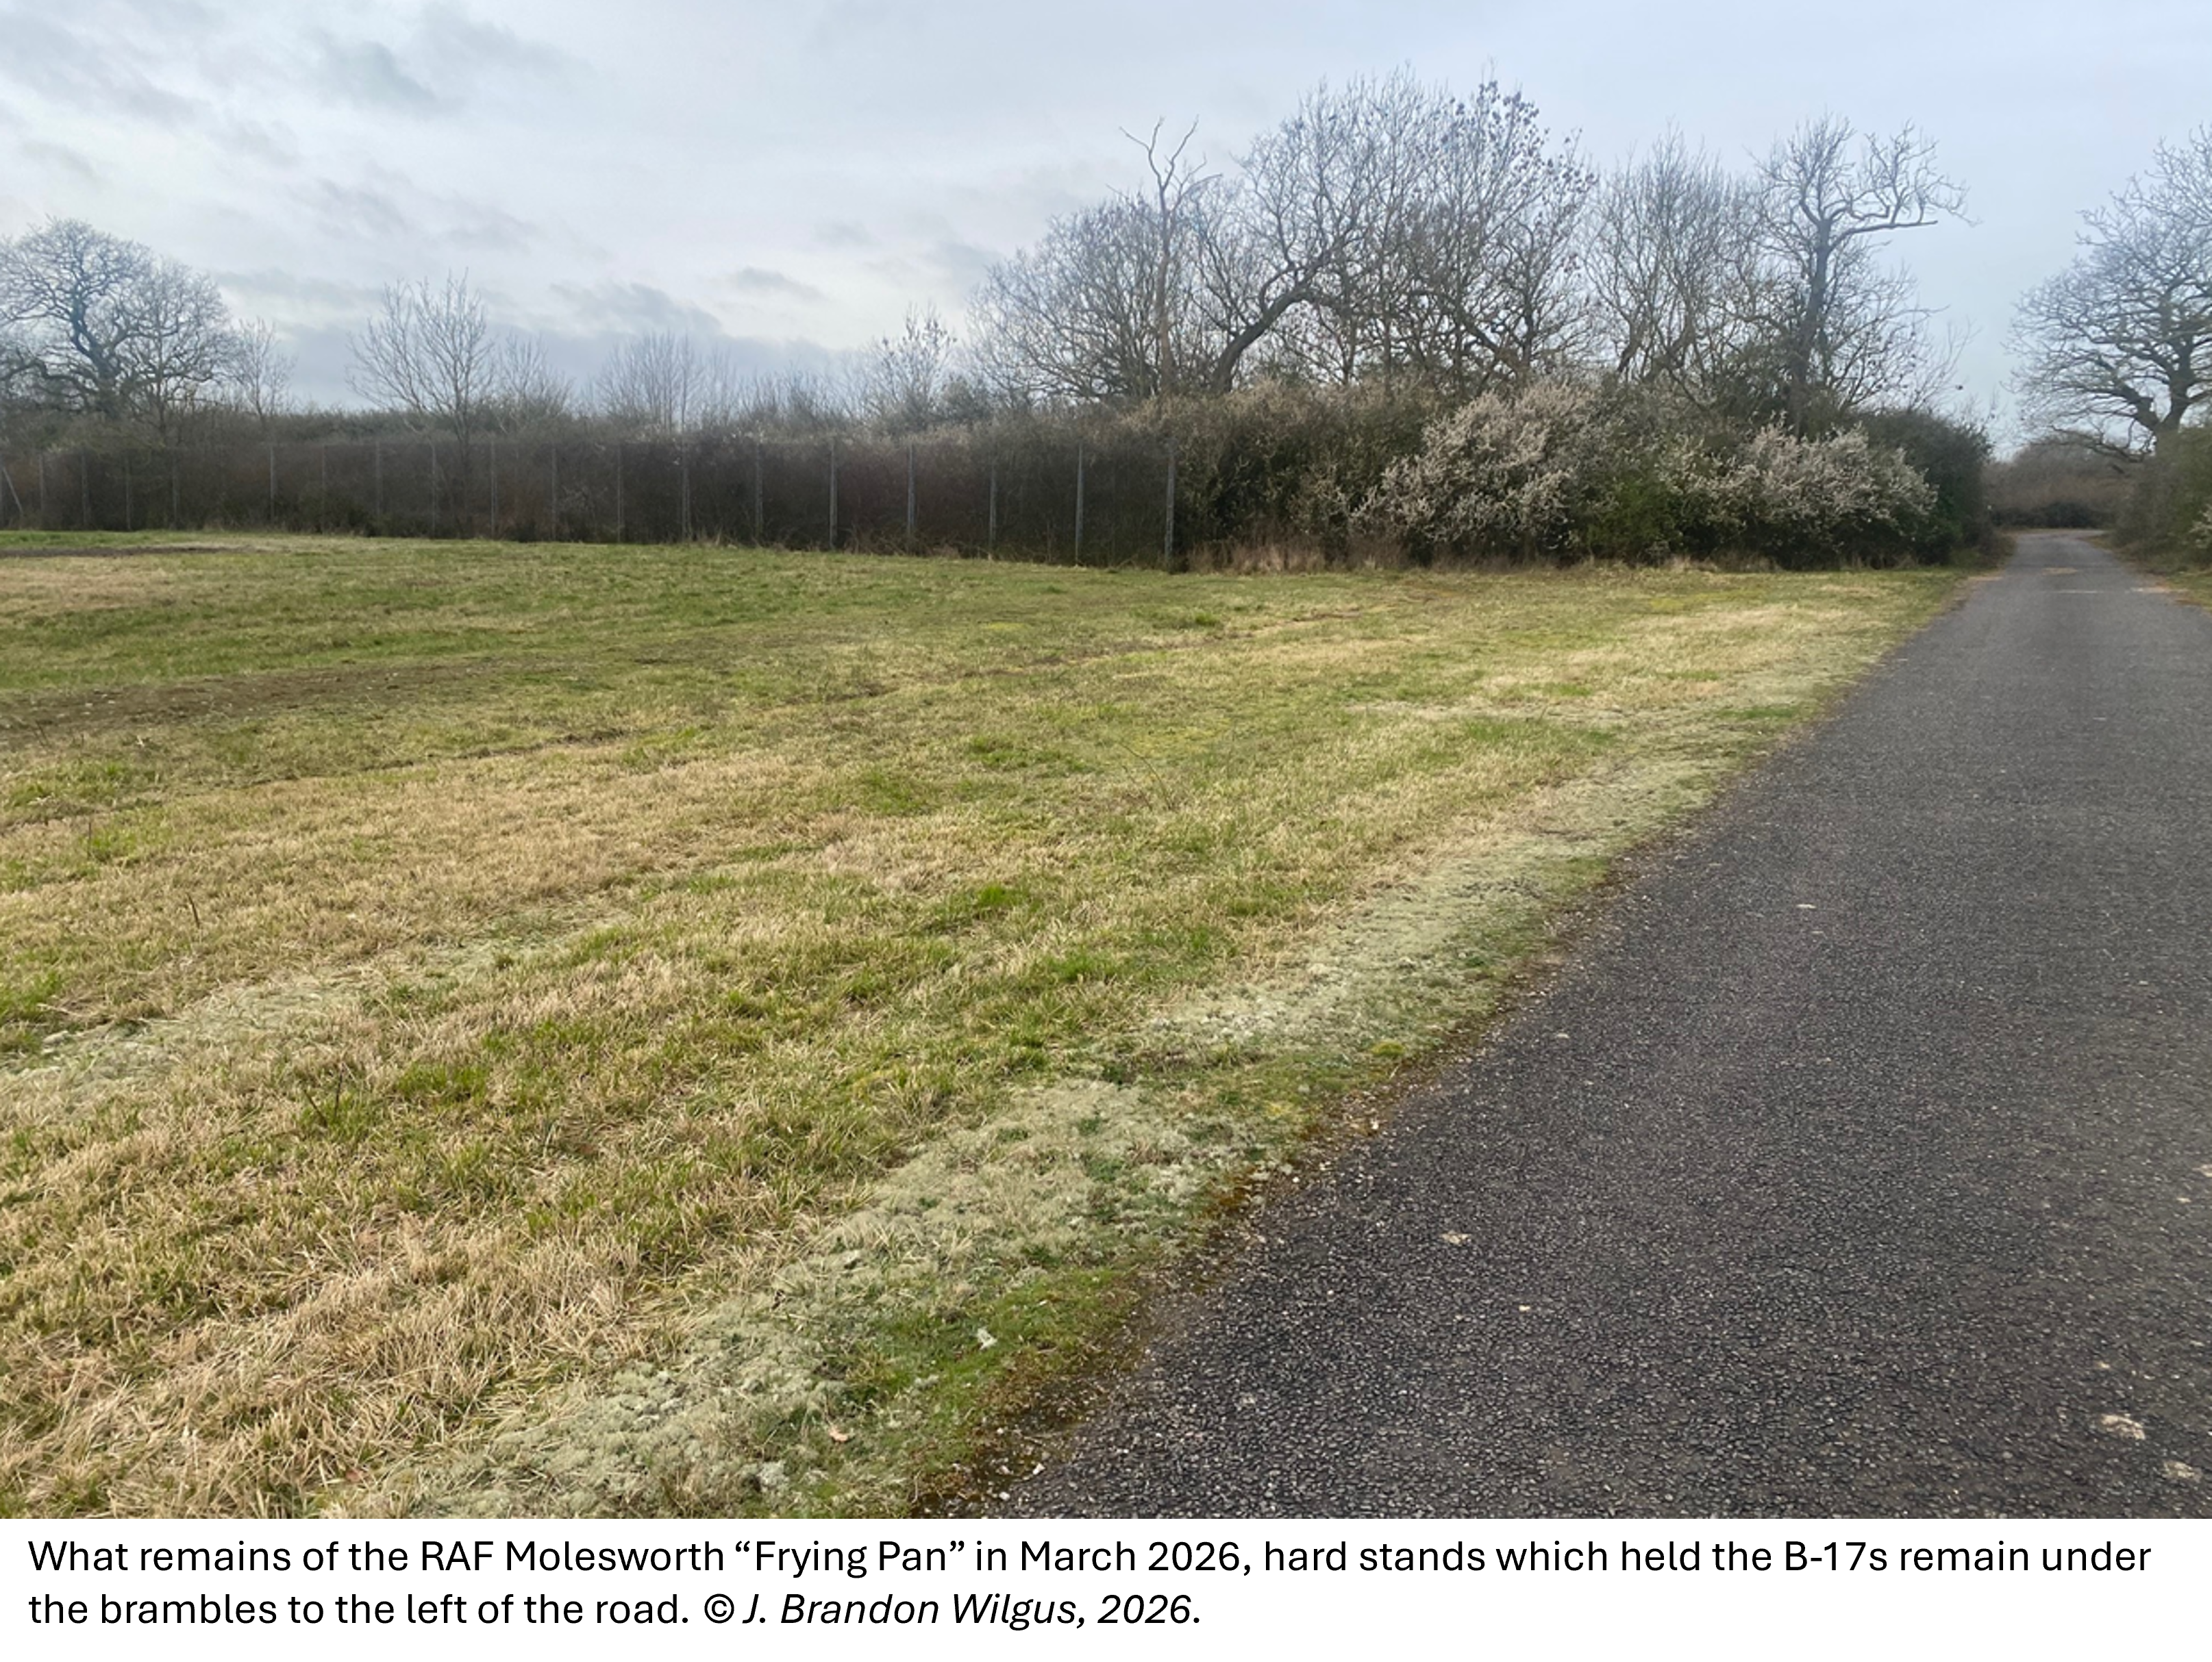
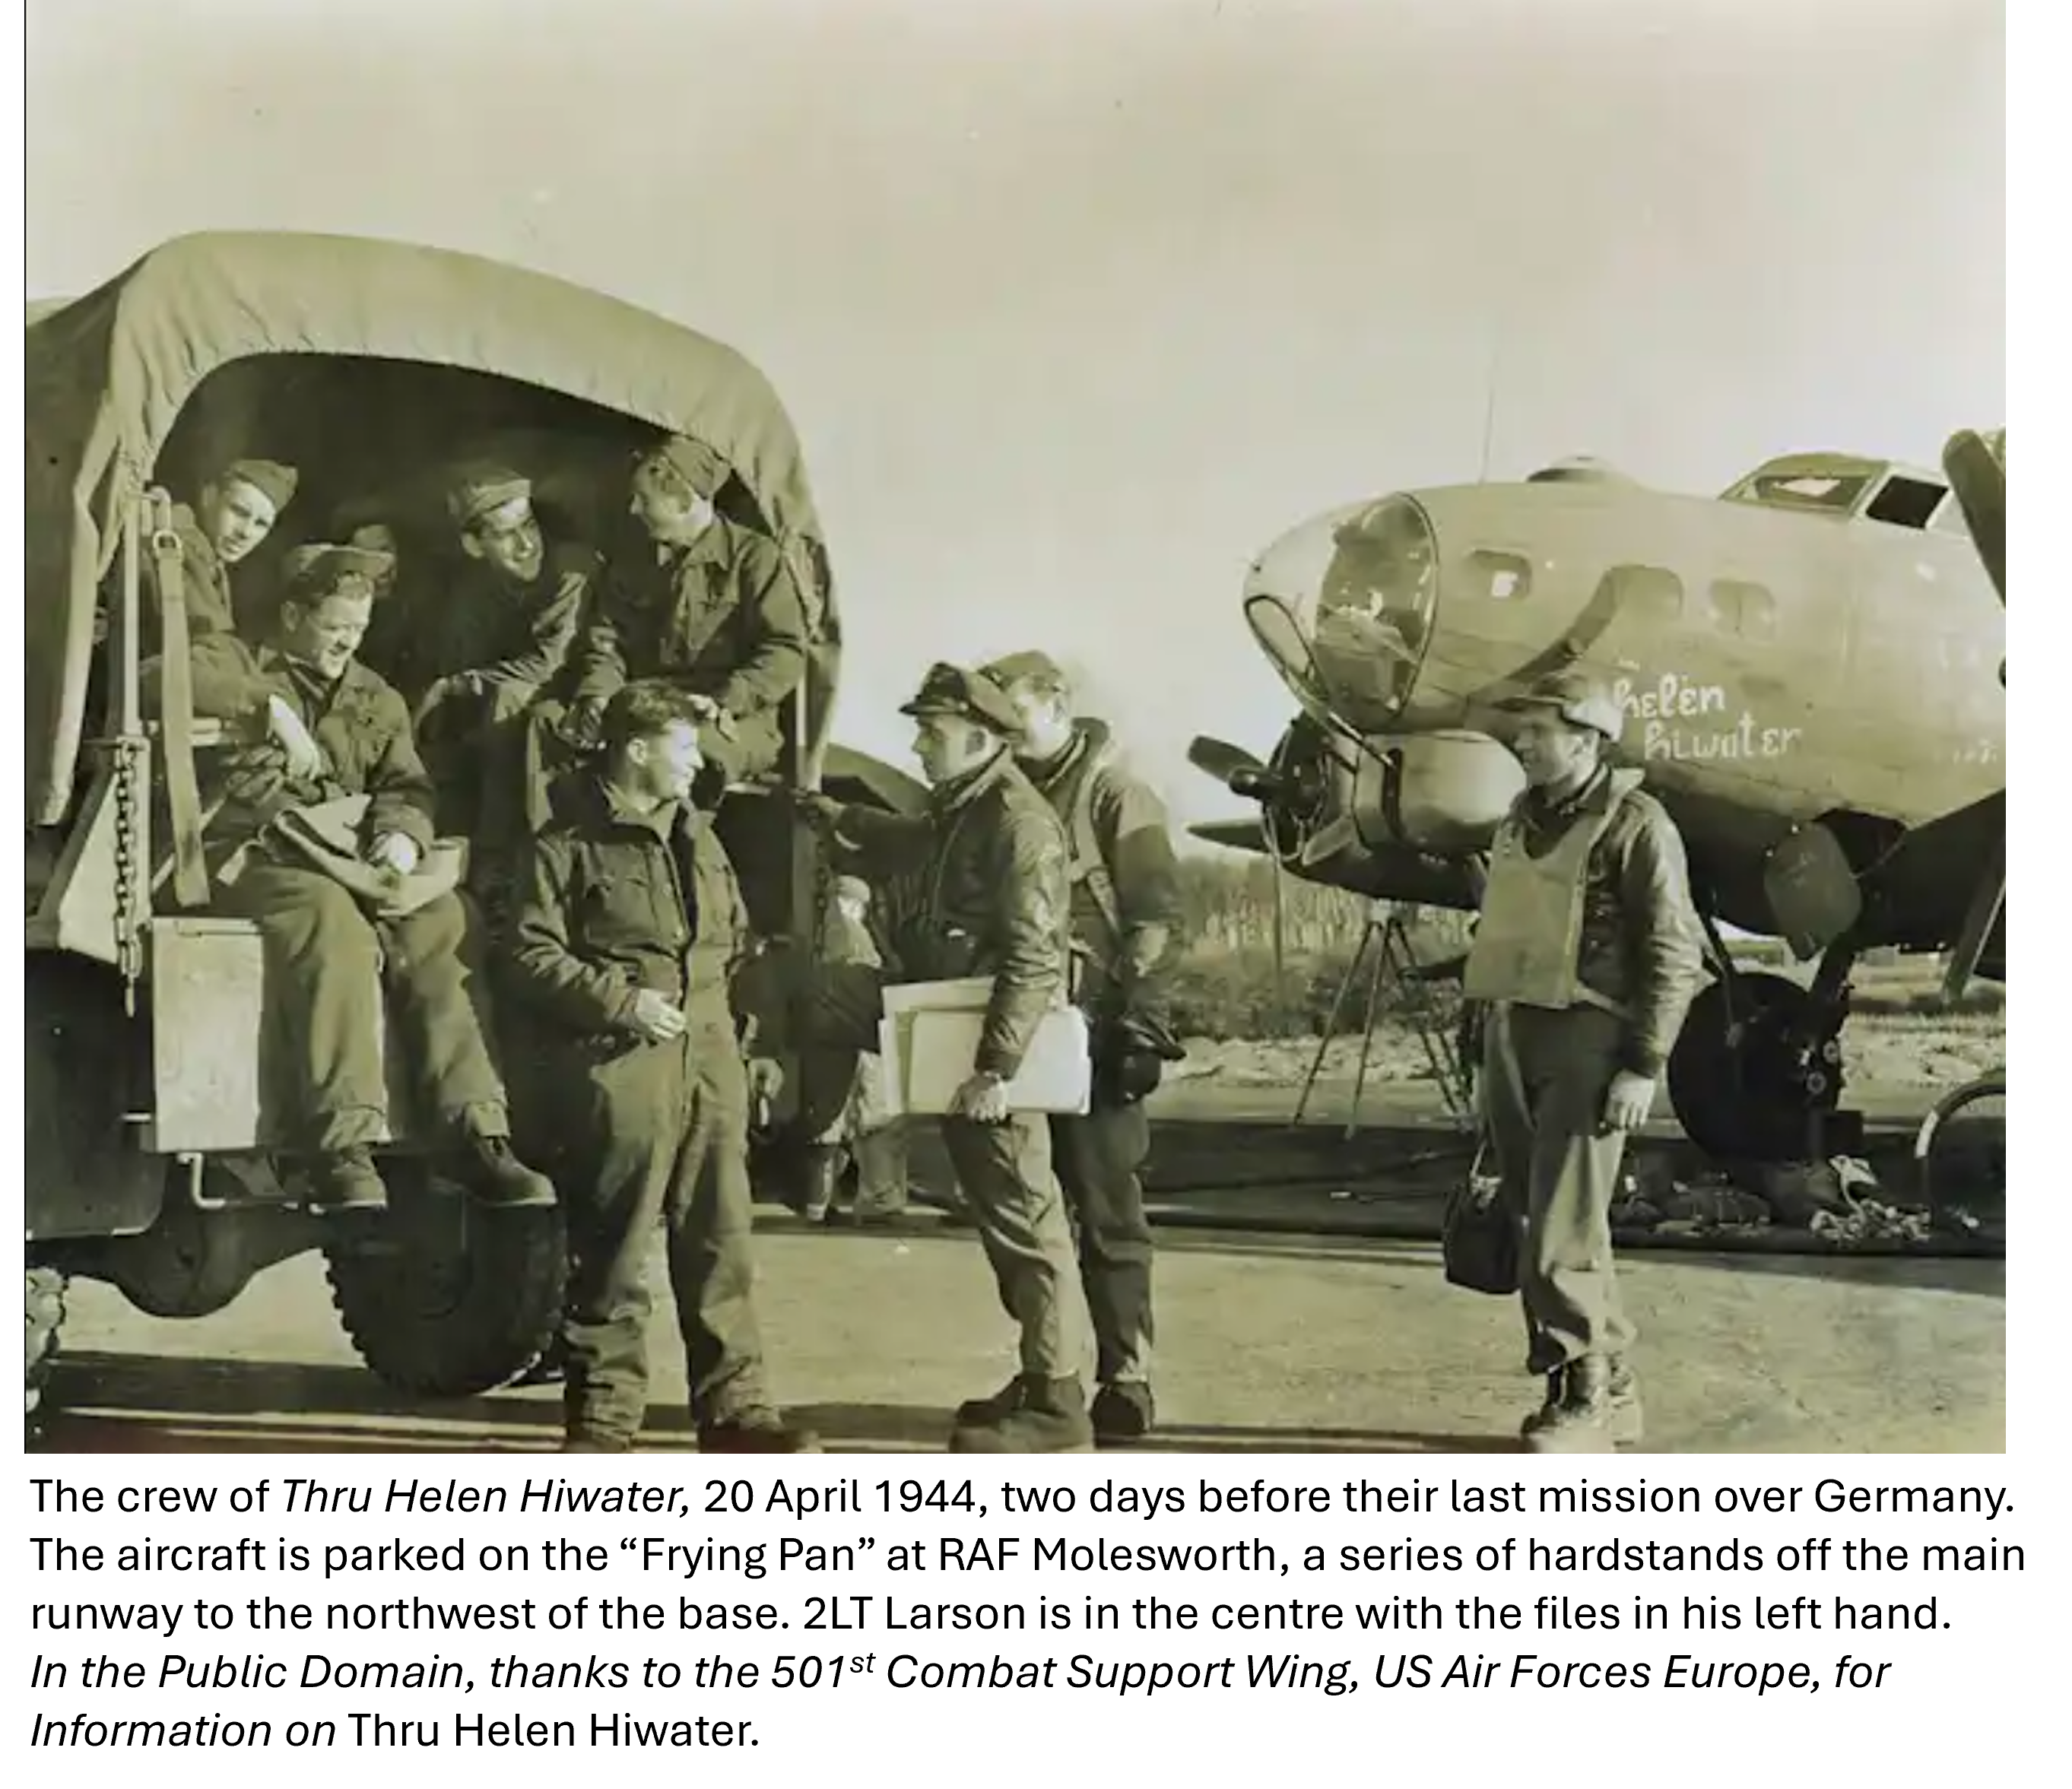
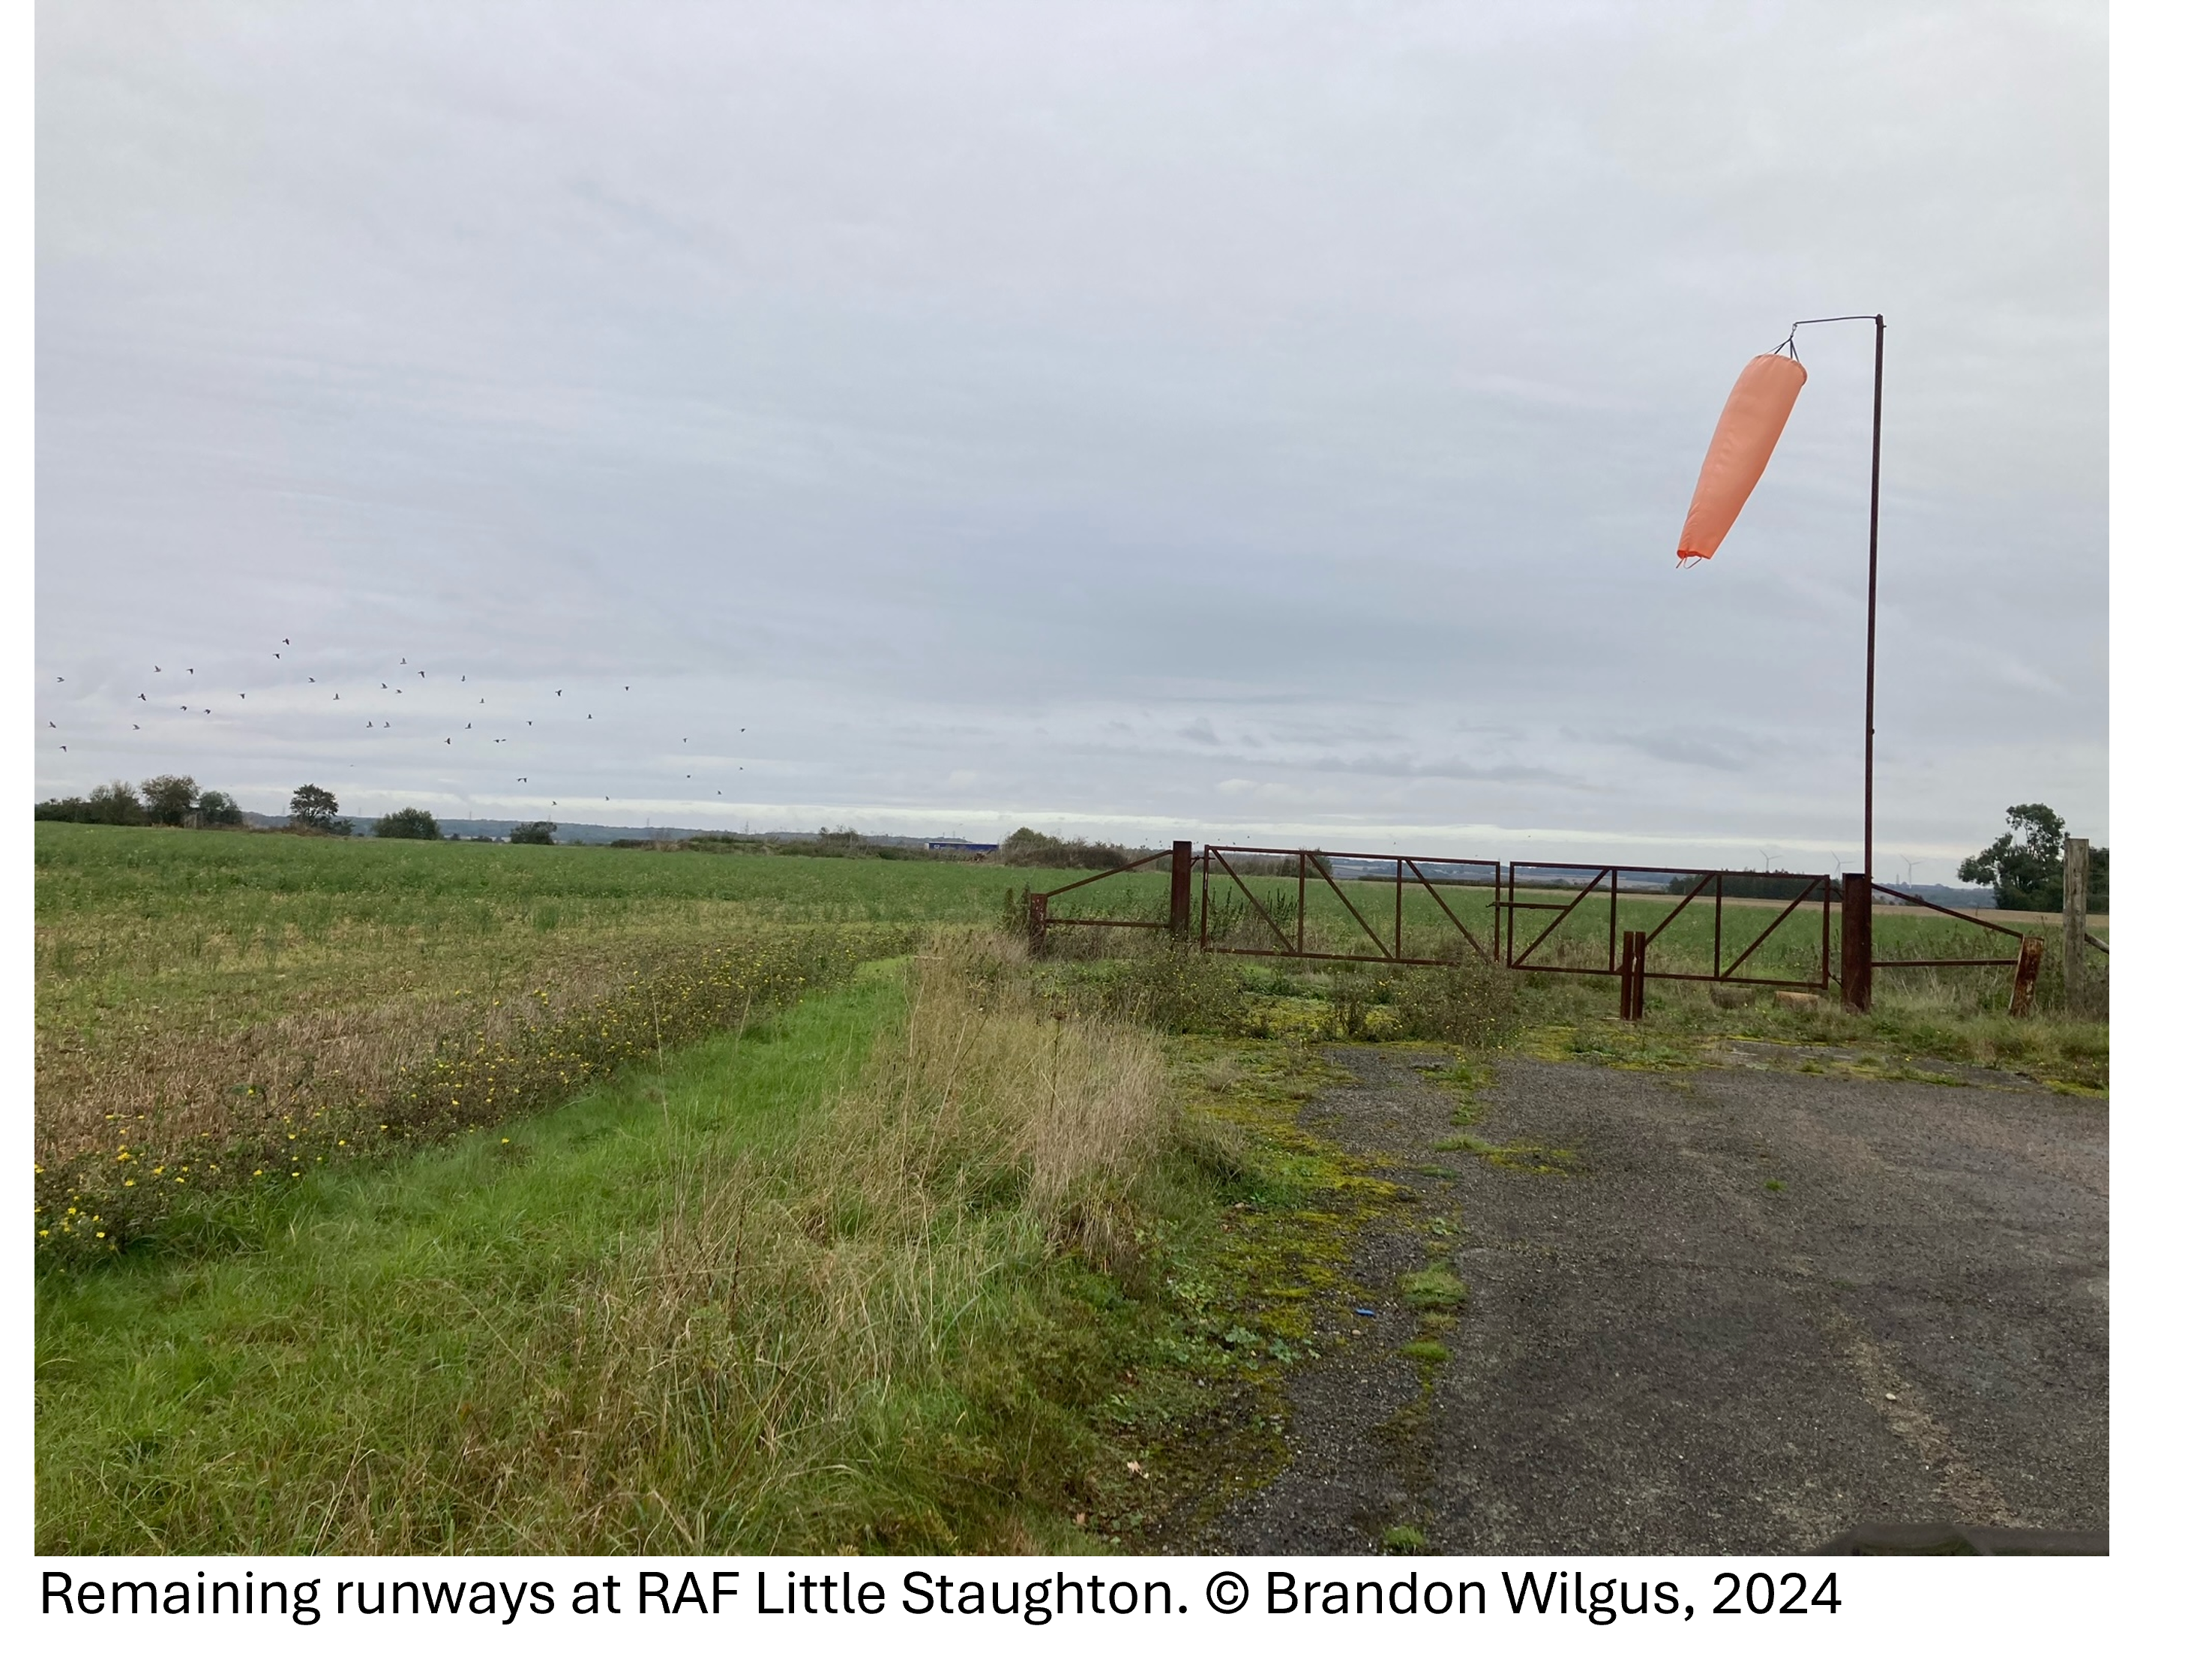
I decided to write this post because of the picture at the beginning, the crew of Thru Helen Hiwater loading onto a truck at the conclusion of their penultimate mission on 20 April 1944. The men look so happy, glad to be back at Molesworth, and ready to go to the debriefing tent to meet with the S-2 officers. Sadly, their next mission would lead to four of their deaths and the remaining six spending the remainder of the war in German POW camps. I decided to find the “frying pan”, the hardstand area where the photo on 20 April 1944 was taken, and it was easy to pin down based on old maps of RAF Molesworth and a marker placed by the 501st Combat Support Wing’s historian. here is the same spot where Thru Helen Hiwater had taxied to, a photo taken 82 years later: